User defined code tables
In addition to the code tables described so far, RefTracker provides User defined question, client and bib code tables. You can use these fields to capture (by using the fields in Request forms), communicate, and analyse any data of importance to your library.
The User defined Question code tables produce data that is displayed with other Question related data for example in the Questions details section of the Details tab of the Summary screen, and in the Question details section of emails advising about questions to be worked on. Therefore these fields should be used to collect information that adds to the knowledge of the client’s question.
The User defined Client code tables produce data that is displayed with other Client related data for example in the Client details section of the Details tab of the Summary screen, and in the Client details section of emails advising about questions to be worked on. Therefore these fields should be used to collect information that adds to your knowledge of the client such as their contact information or the reasons why they are asking the question.
The User defined Bib code tables produce data that is displayed with other Bibliographic related data for example in the Bib details section of the Details tab of the Summary screen, and in the Bib details section of emails advising about questions to be worked on. Therefore these fields should be used to collect information that adds to your knowledge of the item being requested such as the colour of the item for example.
You will usually decide to utilise a User defined code table as a part of the process of designing a new Request form – they only need to be set up as you find a need to use them.
User defined question and client code tables can be utilised in the Details section of DeskStats, but User defined bib code tables cannot.
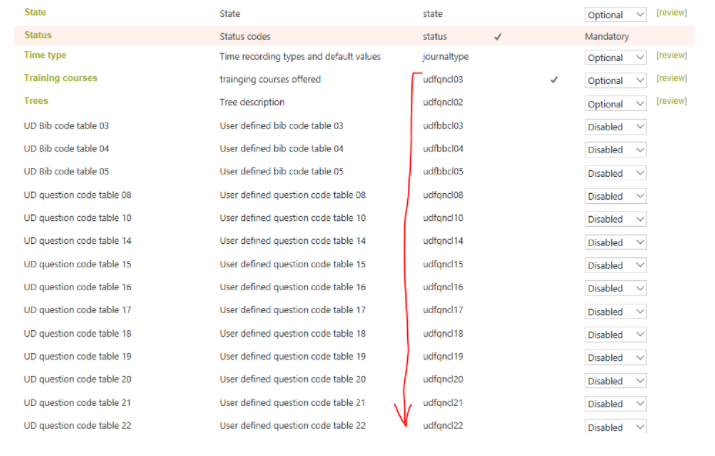
As described earlier in this section, the first step in utilising a User defined code table is to Enable it (choose Optional or Mandatory as appropriate) using the Code table summary screen (similar to the one shown above), click on Confirm update in the confirmation screen, then click on the table name to display the Code table update screen where you can give it a suitable name, and create table entries suitable for your use.