HTML editor overview
Several of these Administration utilities use the HTML editor, so here are some details about how it works.
There are three modes of use that may appear in these Administration utilities –
Preview – shows how the file will looked when viewed by a user. It can be used at any time to see the results of the editing you have been doing.
HTML – allows you to make changes directly in the HTML
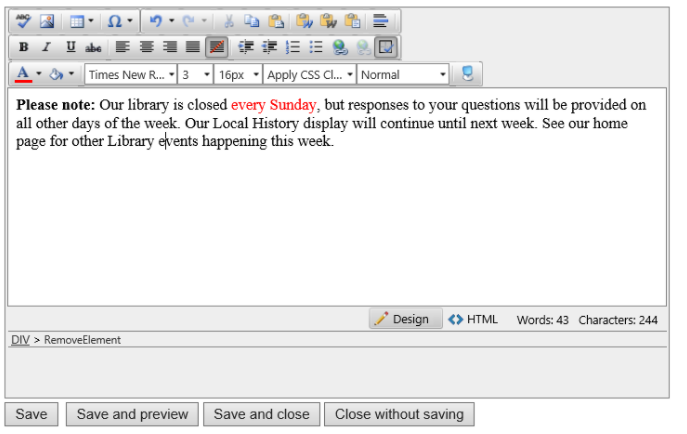
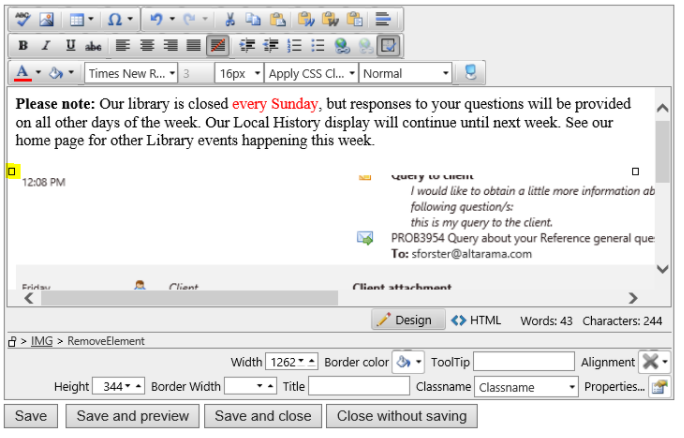
Design – provides a word processing like environment where each header button displays a tool tip describing its function, if you place your mouse over the button (e.g. Spell checker, Numbered list, Bullet list, etc.). In Design mode you select the text that you want the function to apply to then click the appropriate button. In Design mode you can easily insert images, hyperlinks, colours and much more, into the file you are editing, as required to provide the professional result that you require.
– Selecting text in one of these boxes is just like using a word processor – Shift and select using arrow keys, or double click to select a word, or triple click to select the whole paragraph.
– Formatting text in one of these boxes is just like using a word processor – select the text that you want to format and click the appropriate button. The buttons should be familiar but also have tooltips to indicate their purpose when you hover over them. The Word Processing short cuts that you are used also work: CTRL/b for bold, CTRL/i for italics,etc.
– “Enter” provides a new paragraph, “Shift/Enter” provides a new line.
– You can copy and paste formatted text, such as from a web page, into this box and it will retain its formatting. Use the “Copy” and “Paste” buttons or CTRL/cand CTRL/v, or use the “Paste plain text” button to insert without formatting.
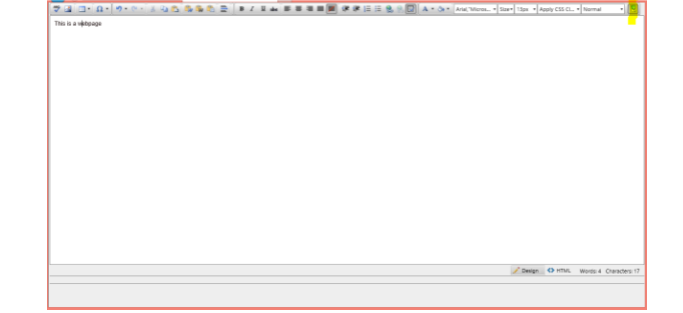
– The “Toggle full screen mode” button is a handy tool to use – it shows the page you are editing in full screen mode making it much easier to edit.
Note that in order to save your changes you need to click the “Toggle full screen mode” button again to return to the page that has the “Save” buttons.
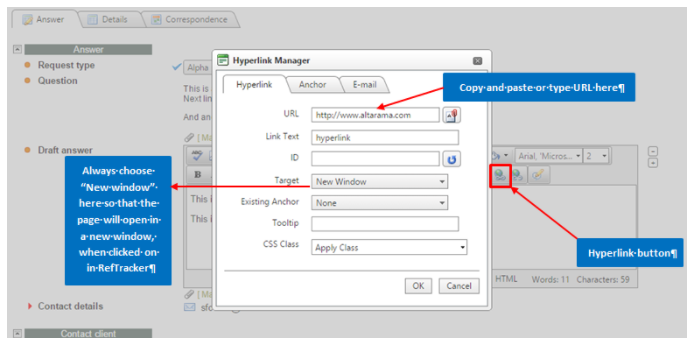
– The “Hyperlink” button brings up a small parameter box that allows you to define how the hyperlink should operate. Hyperlinked test appears underlined.
– The “Insert table” button allows page content to be organised into columns and rows. When you click the button an array displays allowing you to select the number of rows and columns in the table.

By default, it will just add the table, of no specific width, but this in no way limits your ability to change the size of your tables and/or rows. You’ll see white boxes surrounding the table you created – you can use these to resize your table if you’d like. Simply by entering text into those fields will automatically expand the table for you. Once you’ve identified the cell you need to modify, you have a number of formatting options. Right-click in a particular cell to see all of these options. Most of these options are rather straightforward – we’ll look at Cell Properties first:
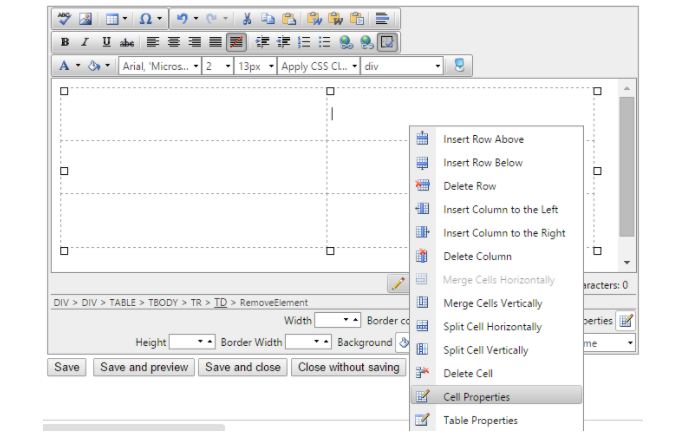
Once you select this option, you should see this screen:
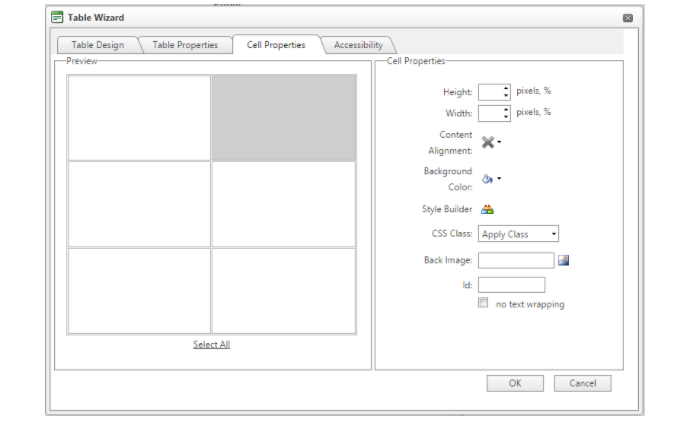
Here, you can change things like background images, set widths, etc. Notice the other tabs along the top – you can set properties for each of these as well.
– You can cut and past images into this Design mode editor box, but if the original image is moved it will no longer display in your file, so a better way to work with images is to use the “Image manager” function.
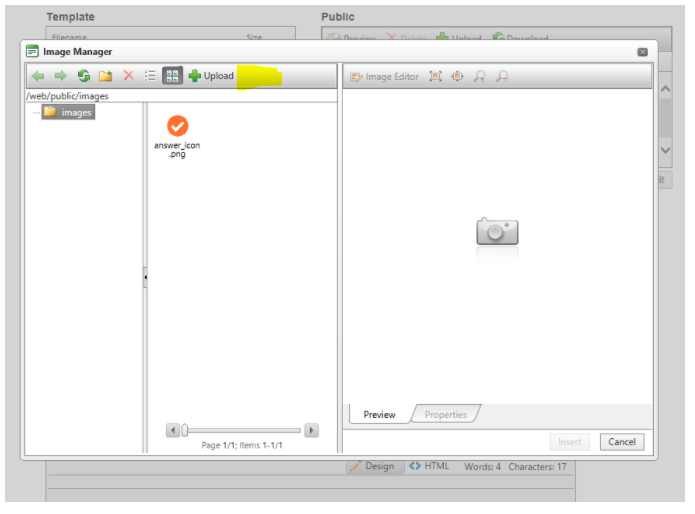
To insert a new image, use the Upload function – it ill upload the file to <YourRefTrackerDomain>/web/public/images where it can be used by any of the HTML editing functions – Template editor (print), Text file editor, Web page editor.
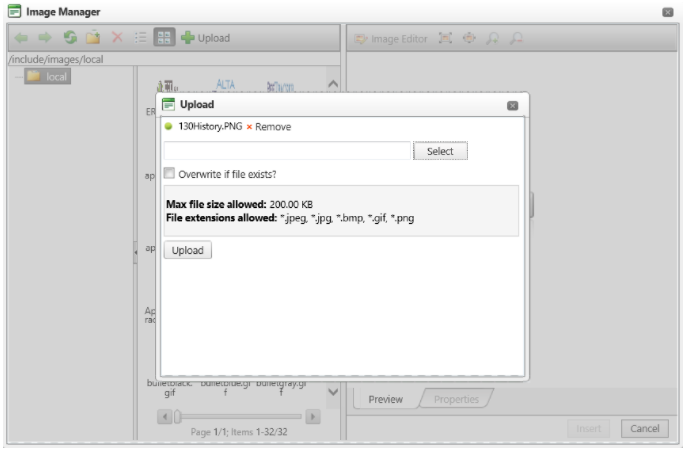
When you click the select button a normal file section function appears allowing you to select files from your local directories. You can select a number of files for upload – note that the function restricts the files to images of less that 200KB in size. When you click upload, the files load to a RefTracker directory.
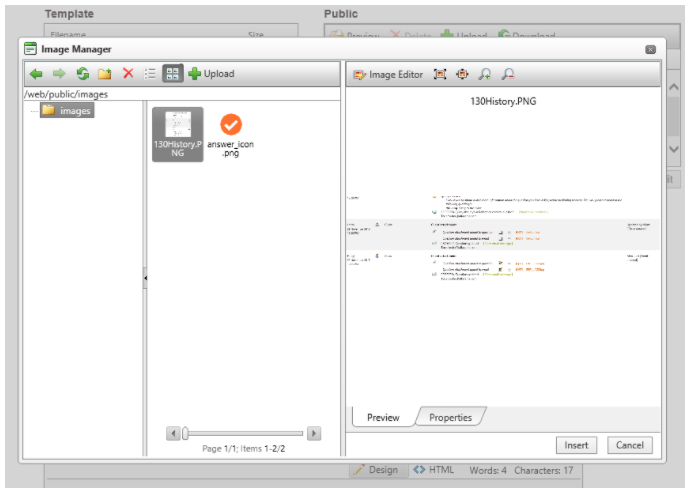
You can select any image from the display of images. The selected image will show in the right hand panel and will be the one inserted when you click “Insert”.
You can adjust the size of the image by dragging the image corner markers.
Exercise
Time to move forward to looking at the Utilities that use this editor.